This section will now provide you the steps on how to add custom libraries in Windows (Windows 7, Windows 8, Windows 8.1, and Windows 10) to organize your files and backups. You just need to configure the following on your computer. One of the few advantages if you create custom Libraries in Windows is the important role it plays when you want to prevent losing data and creating backup. But what really are the term “Libraries” in Windows and what does it do in my Microsoft Windows operating system? In simplest terms, Libraries in Windows are just collection of common accessed folders such as Documents (or My Documents), Music, Pictures, and Videos. These folders are let’s say enables you to quickly find and access your files whenever you need to find and open them. In terms of File History Windows backup, Libraries plays an important role as well – especially for Windows 7, Windows 8, and Windows 8.1. It is because on these Windows operating systems, you cannot simply add additional folders to backup periodically. And the only way to do it is through adding custom folders in Windows Libraries.
It may appear a little bit different, depending on the operating system you’re using, if you want to create or add custom Libraries in Windows. However, the idea is the same, it’s just on the approach on how you can invoke or open Windows Libraries. We will try to show you the closest approach as much as possible so that you can customize your Windows Libraries.
Page Contents
How to add custom Libraries in Windows
How to display or enable Windows Libraries
For other Windows Operating System, Libraries are not shown by default. So here’s some ways on how to enable and display Microsoft Windows Libraries.
1. Open your Windows Explorer or type and hold Window + E.
2. Then right-click “This PC” (formerly My Computer) icon from the left navigation window and click Show Libraries

3. OR, you can just type in the Windows Explorer the word “Libraries” and press the Enter key.
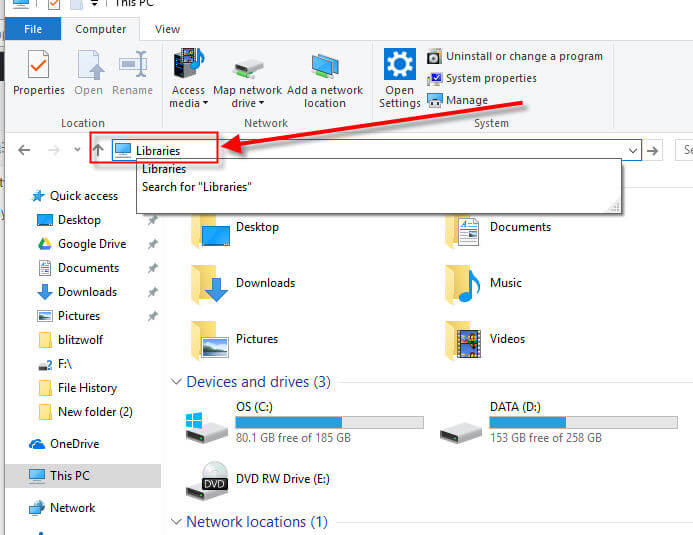
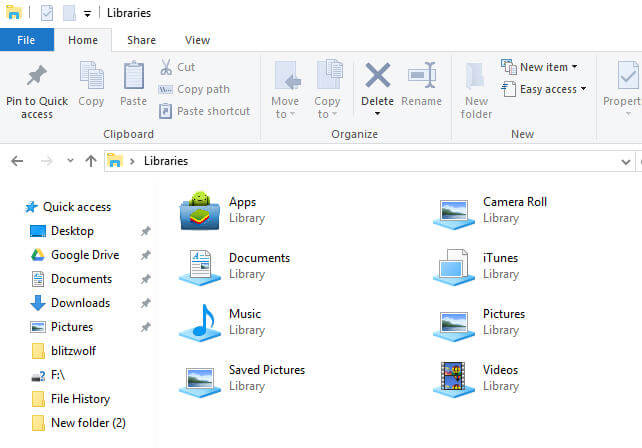
This will open or show your default Windows Libraries, like what I have below.
How to add folders to the Windows Libraries
Now to the fun part – adding custom folders to the Libraries. There are two ways (as of writing this article) to add custom Libraries. This part will show you how to add folders to the existing default Windows Libraries.
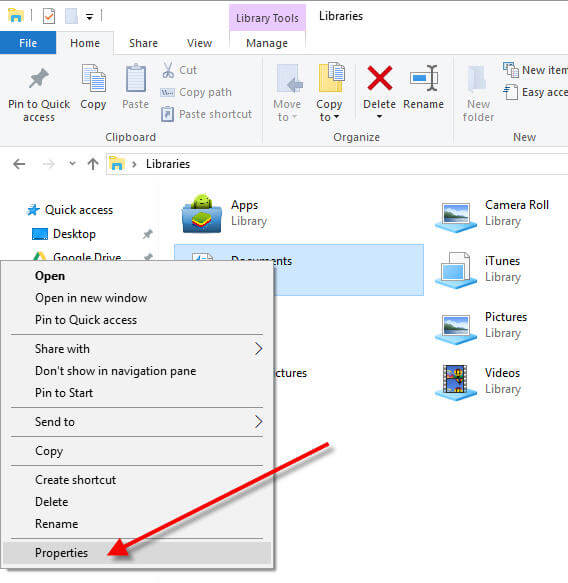
1. To add folders to the default Windows Libraries, first, select a folder from the default folders inside you Libraries. Let us take Documents as for the sake of this tutorial. Right-click Documents and then click Properties.
2. From the Documents Properties, press the Add button and then select the folders you want to add inside the Document library. Then once you have completed adding folders, press OK.
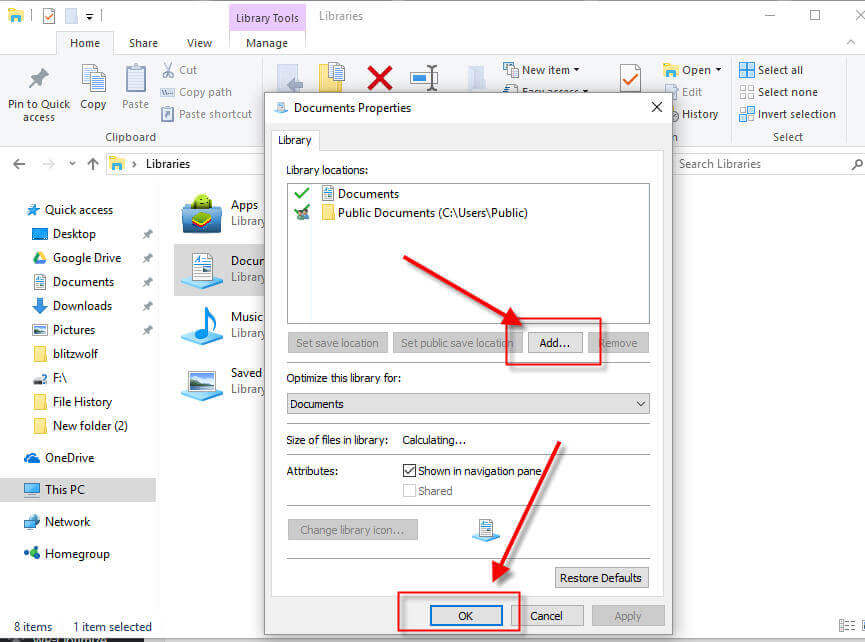
The folders you’ve added are now configured inside the Document library.
How to create custom folder to Windows Library
Now, if you want to add another Library inside the Windows default Libraries, here are the steps.
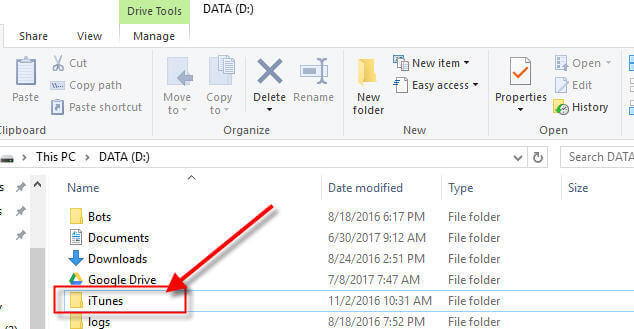
1. Open your Windows Explorer and navigate to the directory where your target folder is. Let’s take my iTunes folder for this example.
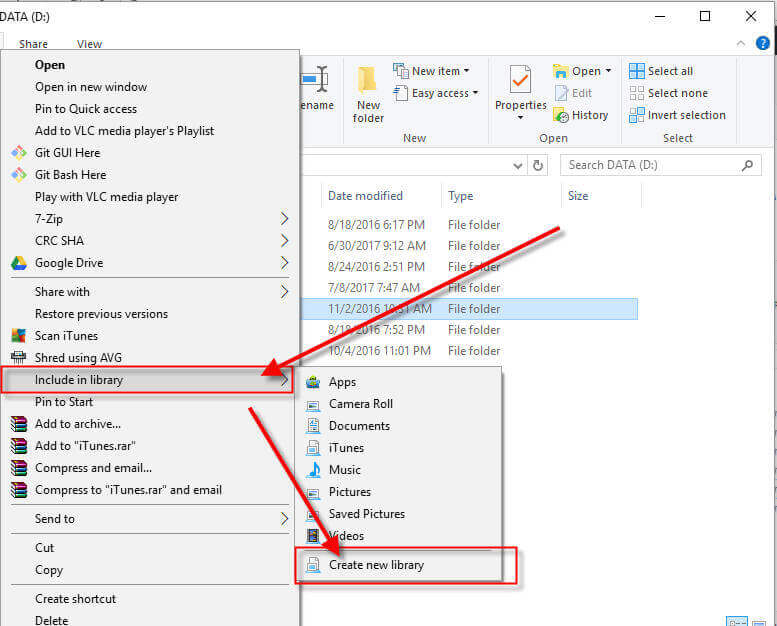
2. Right-click the target folder and look for Include in Library. Then it will show a sub-menu, just click on Create new library.
If you go back to your Libraries, you will now notice that the folder you’ve recently added is now included in the Windows Libraries.

Basically, that’s the steps on how to create or add custom Libraries in Windows to organize your files and even use for File history backup features of Windows. I hope this simple tutorial helped you.