Let us be more technical today by showing you how to push code to Bitbucket using Android Studio. For most long-time developers, Bitbucket and Android Studio is somehow familiar to them already.
However, for new and incoming Android developer enthusiasts, these two tools are not something they use every day. It can become a little bit painful setting Bitbucket and Android Studio if you don’t know where to start.
This is the reason why are going to provide you a high-level step before you actually make your own first Android code to create an app. Who knows, you might be able to create a trending app like Clash of Clans which we have covered IPEGA gamepad controller.
Page Contents
What are Bitbucket and Android Studio?
A quick overview of the tools that we are going to use in this article – Bitbucket and Android Studio. The former, think of it as a controlled versioning, web-based storage of codes from different developers. In the simplest terms, it is a huge container or repository of codes for projects in Mercurial or Git revision control system. While the latter is the official IDE (Integrated Development Environment) for Google Android development. In other words, it is the official Android code editor.
Having said that, if you want to start creating your own Android app then these 2 tools will be helpful for you. So let us start with setting up your tools.
How to create a repository in Bitbucket
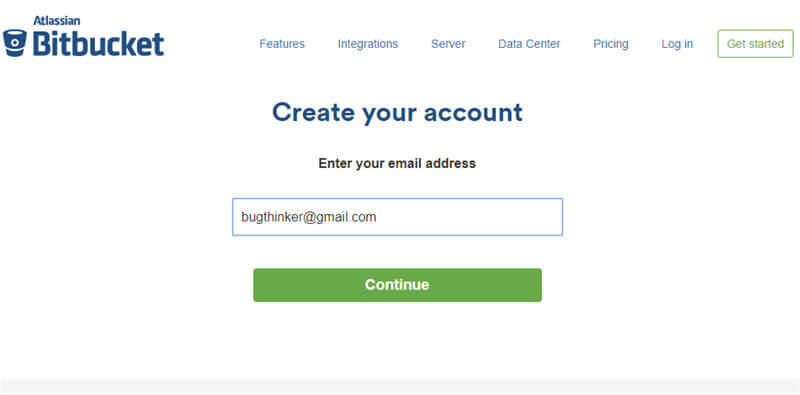
1. As I’ve mentioned above, Bitbucket is the repository for your codes. Therefore, it is important that you have an account created in Bitbucket which you will need for fetching, pulling, pushing, and committing codes afterward. If you have not created an account yet, then go to Bitbucket sign-up page first.
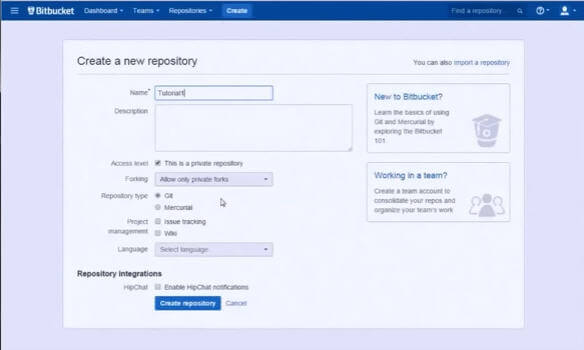
2.Then create a repository. In this example, the repository name created was “Tutorial1”. But you can choose your own repository name.
3. Now we can prepare the integration between your created repository and Android Studio. The key idea here is to do the same basic steps when pushing a code into a remote repository.
Four Basic Steps on How to Push code to Bitbucket from Android Studio
The basic steps or rule of thumb mentioned above on how to push code to Bitbucket from Android Studio are as follows:
1. Create first a local repository by invoking the git command “git init“.
2. Then issue the command to add your remote repository “git remote add <URL of your created Bitbucket remote repository>“.
3. Create, add, and then committing your first code. You can use the Android Studio’s menu to invoke such commands.
4. Pushing your files containing your codes to your created remote Bitbucket repository.
To be able to give you an audio-visual step on how to push code to Bitbucket from Android Studio, we recommend you to watch this video below.

Additional notes
You might need to download the Bitbucket plugin for IDEA/Android Studio. This is one very essential part of learning how to push code to Bitbucket. As of the moment, the official plugin is not yet supporting IDEA13, which is Android Studio’s current version (0.6.1). But, an unofficial version works, here it is.
The next step is to open Android Studio. Upon opening the program, you should see the main menu, click Configure. Then, choose Plugins.
Afterward, click Install plugin from Disk. Then, navigate to the plugin where you will be asked to upload the .zip file. Select it then, click OK.
When prompted, restart Android Studio for everything to take effect.
Basically, that’s it and if you have further questions or suggestions, just leave them in the comment section.